
Red Hat 6 Installation Step By Step

Hi Friends this is step-by-step walk-through on RHEL 6 (Redheat Enterprise Linux) installation via reference of screenshots. It would be a handy guide for beginners on how to take on their first step towards Linux.
Enjoy and share your views in comment section....

RHEL Download and install options


RHEL 6 is available in 64 bit and 32 bit for installation. It can be downloaded from various options I have some, in below links:-
Please refer my earlier post on how to check kernel OS version 

In this guide I use Graphical Installer. There is also Kickstart automated installation method and Text-based Installer available. And I install this machine for Software Development Workstation and testing environment. So package selection is following: Desktop, Web server, Databases, Compiling tools, Java.

So let’s begin installation…
1. Check RHEL image MD5 sum and burn image to DVD with your favourite CD/DVD burner. And boot computer using Red Hat Installation DVD.

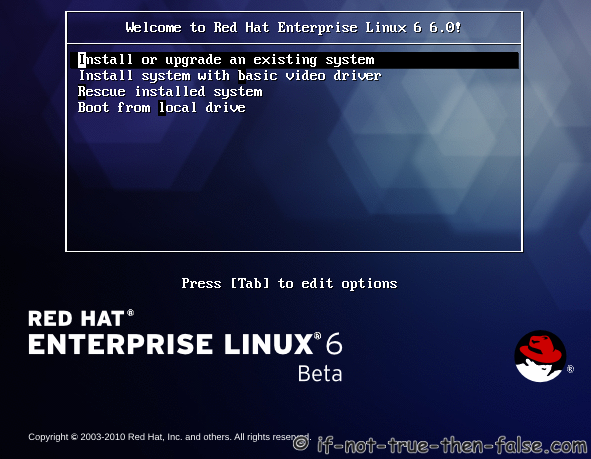
2. Select Install or upgrade an existing system option on Grub Menu.


3. Choose a language and Keyboard type.

4. Choose installation media.


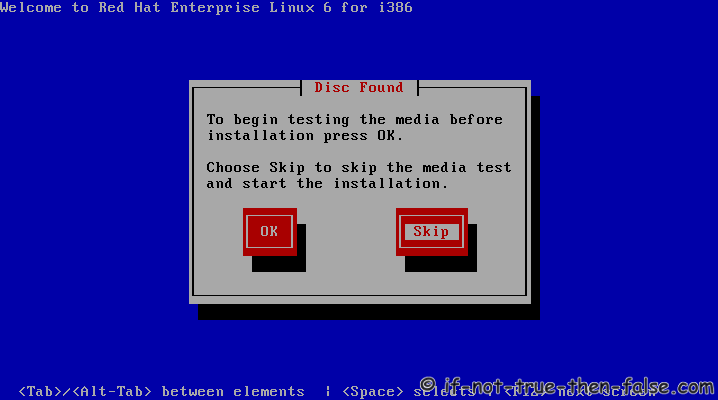
5. Skip DVD media test (or select media test, if you want to test installation media before installation)


6. Red Hat 6 graphical installer starts, select next

7. Accepct Pre-Release Installation

7. Accepct Pre-Release Installation

8. Select storage devices

9. Insert computer name

10. Select time zone

11. Enter a password for root user

11. Enter a password for root user

12. Select type of installation
Read every options info carefully. And select encrypting if needed and option to review and modify partition layout.
12. Select type of installation


13. Review partition layout
Modify if needed. Default setup with ext4 and LVM looks good for desktop machine.
13. Review partition layout and modify if needed


14. Accept write changes to disc

14. Accept write changes to disc


15. Writing changes (creating partitions) to disc

15. Writing changes (creating partitions) to disc

16. Configure boot loader options
Select device to install bootloader and check/create boot loader operating system list.
16. Configure boot loader options

17. Select softwares to install and enable repositories
This case we select Software Development Workstation and enable Red Hat Enterprise Linux 6.0 Beta Repository and select Customize now.
17. Select softwares to install and enable repositories

18. Customize package selection
Select PHP and Web Server to installation.
18. Customize package selection - Select PHP and Web Server to installation
Select MySQL and PostgreSQL Databases.
18. Customize package selection - Select MySQL and PostgreSQL Databases
Select set of Development tools like Eclipse IDE.
18. Customize package selection - Select set of Development tools like Eclipse IDE

19. Checking dependencies for installation

20. Starting installation process

20. Starting installation process

21. Installing packages

21. Installing packages 1
21. Installing packages 2

22. Installation is complete
Click reboot computer and remove installation media.

22. Installation is complete - Click reboot computer and remove installation media

Red Hat 6 RHEL Finishing Installation


23. Selecting RHEL 6 from grub

24. Booting Red Hat 6

25. Red Hat 6 Welcome screen

26. Create normal user

27. Setup date and time and keep up-to-date with NTP
27. Setup date and time
27. Setup date and time and keep up-to-date with NTP


28. Login Red Hat 6 Gnome Desktop


29. Red Hat (RHEL) 6 Gnome Desktop, empty and default look

29. Red Hat (RHEL) 6 Gnome Desktop, empty and default look


Comments

Popular posts from this blog

20 perl programming tips

1. List all Installed Perl Modules from Unix Command Line Get a list of all installed perl modules as shown below. $ perl -MFile::Find=find -MFile::Spec::Functions -Tlw -e 'find { wanted => sub { print canonpath $_ if /\.pm\z/ }, no_chdir => 1 }, @INC' /usr/lib/perl5/vendor_perl/5.8.8/i386-linux-thread-multi/HTML/Filter.pm /usr/lib/perl5/vendor_perl/5.8.8/i386-linux-thread-multi/HTML/LinkExtor.pm /usr/lib/perl5/vendor_perl/5.8.8/i386-linux-thread-multi/HTML/PullParser.pm /usr/lib/perl5/vendor_perl/5.8.8/i386-linux-thread-multi/HTML/Parser.pm /usr/lib/perl5/vendor_perl/5.8.8/i386-linux-thread-multi/HTML/TokeParser.pm ..... In the above example, File::Find  and  File::Spec::Functions  module are used to list all installed modules. -M option  loads the module. It executes  use module  before executing the script -T option  enables taint checking, which instructs perl to keep track of data from the user and avoid doing anything insecure w...

Perl and Excel: How to Read, Write, Parse Excel Files using Perl

If you want to manipulate excel files programmatically, you can use Perl Spreadsheet module, which provides an object interface that makes it easier to create and parse Excel files. Install Spreadsheet WriteExcel Module Method 1: Standard install using make Download the zipped tar file of  Spreadsheet-ParseExcel  and  Spreadsheet-WriteExcel  from cpan. Untar and unzip the module as follows: tar -zxvf Spreadsheet-WriteExcel.tar.gz cd to the directory the tar creates. Execute the steps below to to install the Spreadsheet-WriteExcel module. perl Makefile.PL make make test make install Use the above procedure to install Spreadsheet-ParseExcel also. Method 2: CPAN.pm install If you have CPAN.pm configured you can install the module as follows: perl -MCPAN -e 'install "Spreadsheet::WriteExcel"' perl -MCPAN -e 'install "Spreadsheet::ParseExcel"' For additional installation help refer to: How To Install Perl Modules Manually and Using ...

How to Connect to MySQL from Perl

How do I connect to a MySQL database from a perl program? use perl DBI module to connect to a MySQL database as explained below. If you don’t have perl DBI and DBD::mysql module installed, install perl module using cpan as we discussed earlier. # perl -MCPAN -e shell cpan> install DBI cpan> install DBD::mysql On a very high level, you’ll have to do the following three steps to connect to a MySQL database and get data. 1. Connect to the MySQL Database In the DBI module, you’ll use the connect function as shown below. $dbc = DBI->connect($source, $username, $password) DBI->connect function takes the following three arguments: $source – This is in the format of “DBI:mysql:[database]:[hostname]”. Replace the [database] and [hostname] with values from your system. In the example shown below, it is connecting to the database called “mycompany” that is running on the localhost. $username – The username that is used to connect to the MySQL database. $pass...